Grow Your Own Superfoods
This winter, keep greens in abundance by sprouting your own
There's an empty space on your kitchen counter, and it's calling your name. Maybe it enjoys a few hours a day of indirect sunlight, even in the winter. And perhaps it often sits empty, though you occasionally set a glass of wine there while you cook or check your email.
Don't get me wrong. I appreciate a clear space as much as you. But when most farm markets have gone dormant and affordable local produce is tough to find, keeping meals healthful, fresh, and vibrant can be tricky. So why not use that counter space to grow sprouts and microgreens at a fraction of the cost of, and with exponentially more nutritional punch than, the store-bought versions?
Not only will your homegrown greenery help you to eat cleaner, feel better, and live longer, the growing is fast, dead simple, and delicious. Did I mention dead simple? There are essentially no downsides. Except, I suppose, you might have to keep that glass of wine in your hand at all times. Such a shame.
Sprout? Microgreen? Shoot? What's the difference?
There's a lot of terminology out there when it comes to growing anything, and it's often used interchangeably (and incorrectly). Don't let the black hole of the Internet scare you off. The key idea here is that all seeds contain the potential to become a mature plant; if maturity is the destination, sprouts, microgreens, and shoots are all stops along the way. Where do you want to get off? That depends on time, taste, and nutritional value.
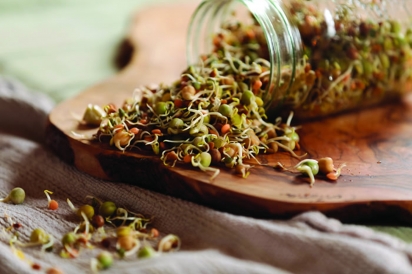
Sprouts are the first stop. If you hop on the subway at Kipling, say, we're talking about somewhere west of High Park. Essentially, a sprout is a germinated seed. It still looks mostly like a seed, though thanks to a dark, moist environment, it will have swelled, cracked open, and sent out a little white tail, destined to become an entire root system. This is a perfectly acceptable place to jump ship and eat your seeds. At this age (a few days old), they'll be great on salads, in soups, baked into breads, whipped into hummus, or enjoyed straight up as a snack. Think chickpeas, lentils, bean mixes, broccoli, quinoa, alfalfa... these are all perfect choices.
Why eat them now? A study from the International Journal of Applied Science cites sprouts as containing the highest concentration of phytonutrients per calorie of any food source. (Phytonutrients play an active role in the amelioration of disease.) And since you're consuming the entire plant, tip to tail, sprouts are also biogenic, meaning that they are fully alive, and as such transfer that living energy straight to you!
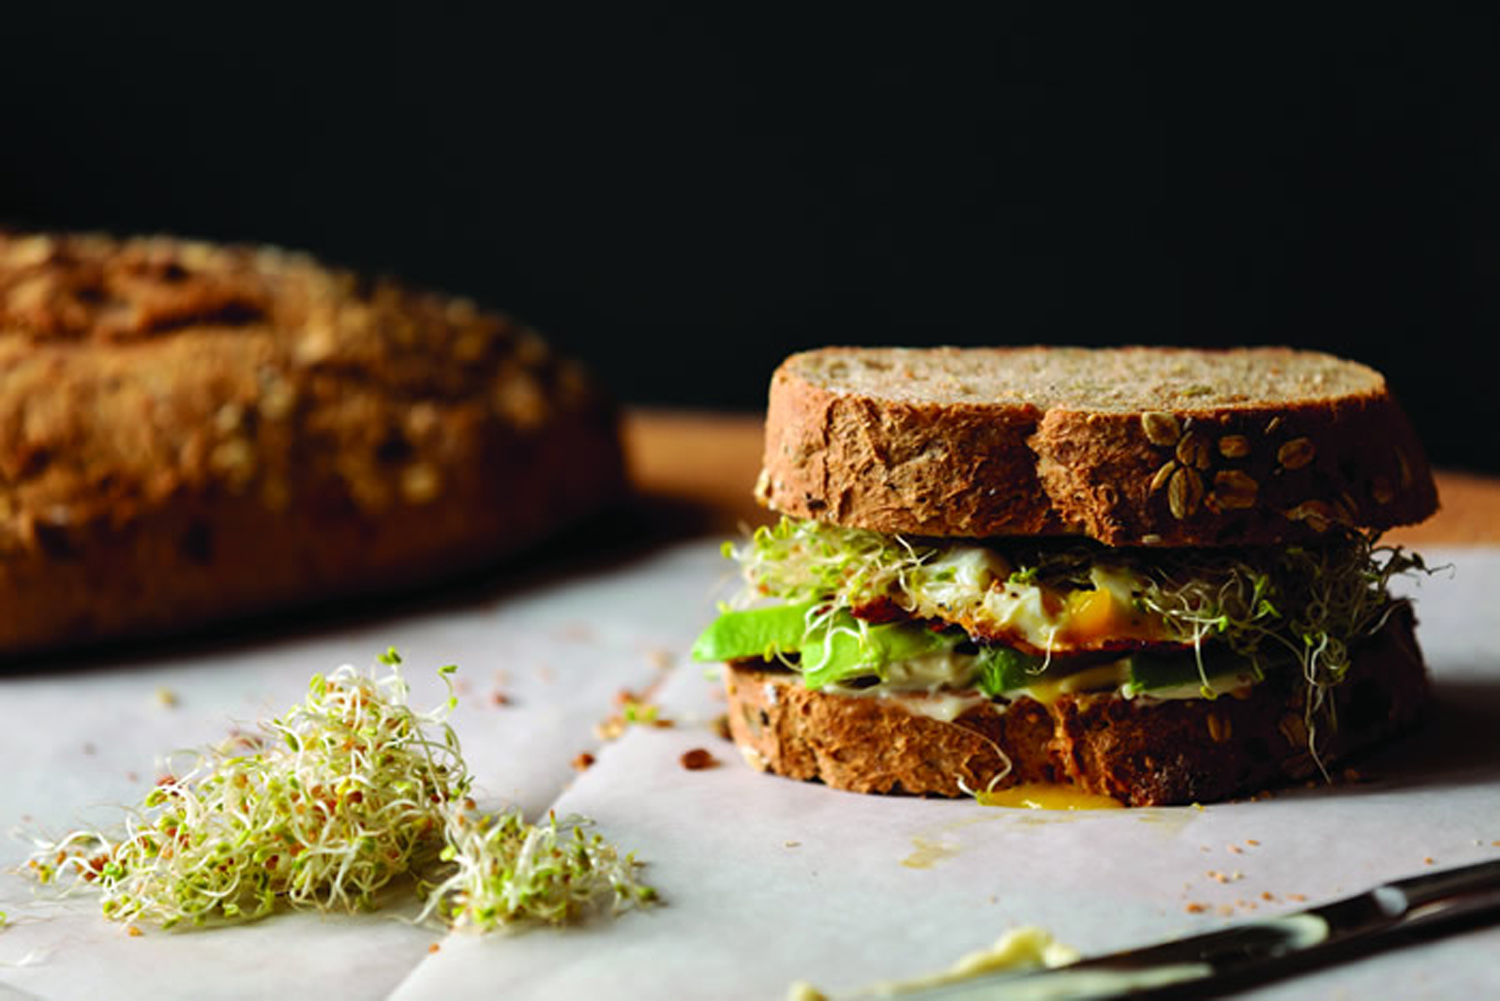
If you stay on course, microgreens are your next stop, and depending on what variety you're growing, you'll end up exiting the TTC somewhere between Dundas West and Spadina stations. By anywhere from seven to fourteen days in, your little seeds will have used that bit of indirect sunlight on your counter, along with some water, to transition from crunchy, robust sprouts to lean, green, cancer-fighting machines. Having just reached the cotyledon stage (meaning their first set of leaves – the seed leaves – have appeared and the stem has grown to be a few inches tall), these micros are now packed full of chlorophyll and ready to be added to salads, sandwiches, wraps, or just about anything you can dream up.
Radish, cabbage, kale, sunflower, and cress are all favourite micros that you may have seen at market stands or used in restaurants. If juicing is up your alley, nutrient-dense wheatgrass falls into this category, too.
Shoots are rarely distinguishable from microgreens; most folks use these terms interchangeably. That being said, some do specify that this is what you call your tiny plants once they've added yet another set of leaves – their first true leaves, which grow out of the stem, rather than out of the seed. So this stop is determined by where you got off last time. You could find yourself as far west as Dufferin or as far east as Bay, depending on what seeds you started with. This stage will happen sooner for micros with shorter grow cycles and later for those with longer ones.
Peas, arugula, and herbs are often consumed as shoots, though some other plants start to become less pleasant in texture and taste as they sprout their true leaves and begin taking more and more energy from light, rather than from their seed source.
In most cases, if you haven't gotten off your subway ride by the Bloor-Yonge hub, your seeds are well on their way to becoming baby greens and, once you’ve hit the far end of the city, to mature plants that you'd see in an outdoor garden.
So how do you know what seed is best for what stop? Any good seed catalogue, paired with your taste buds, will help you navigate. You'll want to use seeds that are sold specifically for sprouts and micros, as they're often treated a bit differently by seed farmers than those you'd ordinarily plant in the ground. They're also sold in bulk, making them more affordable and appropriate for the thick density you'll want for your countertop containers. (More on buying seeds can be found in the sidebar. Just be sure to read their descriptions carefully to figure out what their best uses are, and taste as you grow to determine the most delicious stage for your palate.)
Okay, so they're easy and tasty. But are they really that good for me?
Claims about the benefits of consuming these tiny plants stretch far and wide. With a little digging, you can find mention (and some proof) of different varieties increasing your body's excretion of carcinogens, minimizing the behavioural manifestations of autism, and preventing cancers, cardiovascular disease, arthritis, and Parkinson's, among other things.
Overall, the most noteworthy value of sprouts and micros may simply be in their whole food potency. Rich across the board in vitamins, minerals, enzymes, and often complete proteins, they are indeed a goldmine of anti-viral, anti-microbial, anti-disease superfood potential. Some studies suggest that they contain anywhere from 4- to 40-percent more nutritional value than the same mature plant. And since the volume of organic matter is so much less, you can consume so much more, meaning you get lots of bang for your buck.
Got it. I'm convinced. So what do I grow, and how?
“People quite often ask me, in terms of nutrition, which sprout they should consume,” says Lisa Mumm of Mumm's Sprouting Seeds, “but I always like to tell people that they should simply find the sprouts and microgreens that they really like to eat, because if they’re eating the ones that they love, that they find beautiful and flavourful and that they enjoy, then they’re going to be drawn back to them again and again.”
So choose what seeds sound good to you (take some examples from above if you need inspiration) and give it a whirl. Here's the lowdown on getting your own superfood from seed to plate:
1. Soak your seeds
With a few exceptions (again, read your seed catalogue description) you'll want to soak your seeds for twelve hours before you start them, no matter what stop you plan to get off at. How many seeds do you soak? Again, your catalogue or seed packet should suggest a density.
2. Choose a container and a medium (or not)
This is where you might want to make some decisions about whether you plan to grow sprouts or micros, because you have a few options. If you're going to exit early, all you need is something to hold the seeds and water for rinsing. Sprouts need nothing else. Not even light. “The seeds have so much nutrition in them,” says Mumm, “that when we begin to grow a sprout, the plant doesn’t need to access anything other than water to grow and develop. It inherently has the nutrition built in to become a sprout.”
You can use a standard wide-mouth Mason jar or a simple specialized sprouting jar or tray. With a standard jar, you'll need to find a square of screen, mesh, or tulle to place over the top, held in place with a basic elastic band. That's it. If you like, you can order a specialized sprouting jar or tray (like the Sproutmaster) online, which serves the same purpose in a sleeker form.
If you plan to enjoy the ride for a bit and end up with micros, you'll want to use either a sprouting tray or any container you can find that's shallow (your tiny plants need some air flow) and has some drainage. You can easily create one out of a disposable salad container by making a few holes in the bottom. Just remember to put a tray or some other catchment underneath so you don't make a mess of your counter. If you make your own container, you're going to add some soil in the next step. Here's another reason to read your seed description carefully: if it will take your seeds more than fourteen days to become micros, skip the sprouting tray and use your own container with soil... they'll need the extra nutrients it will provide.
3. Rinse and grow your seeds
If you are using a jar, you'll have used it to soak your seeds, so with the mesh held in place by that handy elastic, simply drain them through the mesh and then rinse them well. Tip the jar upside down and lean it up against the wall of your sink, or use a mixing bowl to achieve the same effect. You're looking for good drainage. Repeat the rinse/drain cycle two to three times daily until the white tail of the root appears and grows a little. Now you rinse and eat them. For real. That's it. Dry well (pat with a towel) and refrigerate in an airtight container for up to a week.
If you are using a specialized sprouting tray for sprouts, the steps are virtually the same. Pour your soaked seeds into the main tray, rinse well (the water will run out the perforated bottom), place the lid on top, and then leave it on your counter until the next rinse. Just like in the jar, repeat the rinse/drain two to three times daily until some root begins to grow. Then enjoy or store.
If you are using a sprouting tray for micros, keep going. Repeat the rinsing until some greenery (the seed leaves) begins to form and the roots head down through the perforations. Once this happens, remove the lid and leave it off. Place your tray in the spot you've chosen with some window light and mist with water once or twice daily. Simply watch them grow, tasting along the way, until they've reached a few inches in height and have a dense green canopy.
If you are using your own tray (because you want to or because your seeds will take more than fourteen days to come to microgreen fruition, such as beets, chard, or wheatgrass), spread roughly 1.5 inches of a good quality organic potting mix before gently patting it level and sprinkling it with the density of soaked seeds that your catalogue or packet recommends. Spritz thoroughly with fresh water, then dampen an unbleached paper towel or an old linen tea towel and lay it directly on top of the seeds to keep them moist. Finally, lay any sort of plastic cover –plastic wrap, a plastic lid, or even a shower cap – over top to keep in some warmth. Once or twice daily, lift the plastic and spritz the towel thoroughly to keep the seeds moist. Gently lift the corner to touch the soil and make sure it's got some, but not too much, moisture (you don't want it soggy) and to check the progress of your seeds. Once you see evidence of some root and seed leaves, remove the plastic and towel and get the container into indirect light. Now, just like above with the sprouting tray, you simply watch them grow. Remember to mist one to two times a day to keep the soil moist.
Once your micros have reached the size you'd like them in your sprouting tray or soil tray, use a sharp knife to harvest them near the base of the shoot, leaving the root below. Rinse, dry well (pat with a towel) and eat! Or refrigerate in an airtight container for up to a week. With micros you can certainly cut-as-you-use, which will keep the nutritional content you're ingesting at its peak and also give you the opportunity to taste different stages of growth.
Remember to carefully clean and sterilize any tray or jar between uses to ensure food safety.
Taking a stand for food sovereignty
There's no question that, just like shopping and eating local, growing your own nutrient-dense superfoods amounts to making a stand for all the good things that our planet (and our body) wants and needs. We can't all have a farm, a greenhouse, or a garden. But we can all sprout a jar of lentils or harvest micros fresh for dinner from our very own unused counter space.
“The seed is the source of life,” Mumm offers, “and when we’re able to make that kind of connection to the food that we consume, that’s a pretty basic building block. It allows us to start thinking differently about the food system. It allows us to start thinking about farmers, it allows us to start thinking about transportation, it allows us to start thinking about soil and all of those other pieces that are so important to the food that we consume. So when we have that foundation, we’re on our way to making those other really important connections.”
Seeds, Equipment & Resources
As you've seen, very little (if any) equipment needs to be purchased for you to make this happen in your own home. That being said, you do need seeds, and quality is important. There's very little time from start to fork in this exercise, so you want to be sure that what you begin with is of the best nutritional value possible. Choose organic seeds to ensure they are free of GMOs and have been raised in a way that's good for both you and the planet.
Since you'll want to buy seeds in bulk for sprouts and micros, online is typically your best option. In Canada, Mumm's Sprouting Seeds in Saskatchewan specializes in just this sort of thing. In addition to a huge variety of certified organic seed, supplies, and sprouting books, their site is full of great information, including sprouting basics, FAQs, and even some video tutorials on how to get growing.
Another online favourite is High Mowing Organic Seeds out of Vermont. Urban Harvest in Toronto also offers a selection of appropriate seeds and equipment.