Instructions
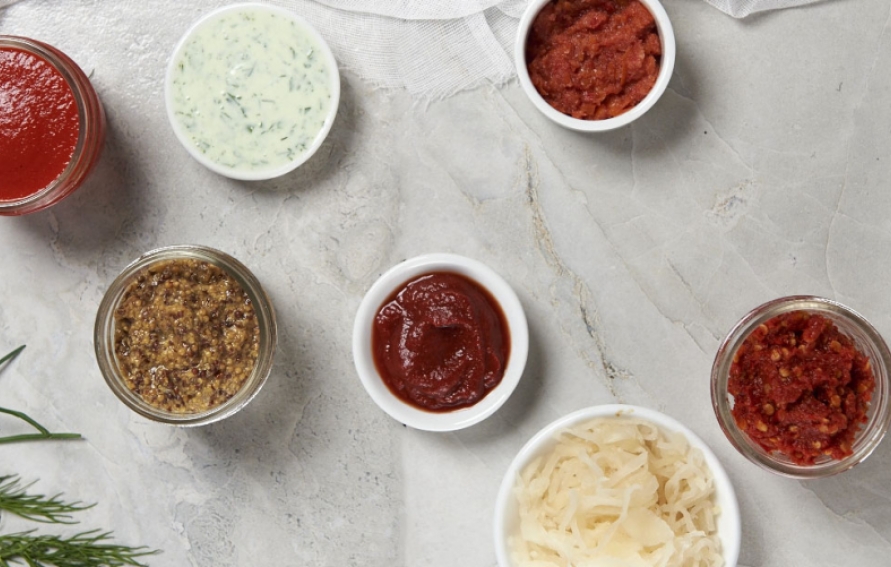
Blood Orange Kosho
Traditionally made with yuzu and hot peppers, this versatile condiment from Japan’s southern island of Kyushu is easy to make and keeps exceptionally well. It imparts acidity, heat and salinity, helping to balance many dishes, such as fish, red meat, noodles and soup.
5 blood oranges, rinds peeled
4 to 5 fresh long red chiles
2 tablespoons sea salt (or any non-iodized salt)
1 tablespoon squeezed blood orange juice
Using a sharp knife or peeler, carefully peel the rind of the blood oranges, avoiding the bitter white pith. Remove any residual pith with a paring knife and coarsely chop the rind and set aside. Juice one of the oranges and reserve the remaining fruit for other uses.
Roughly chop the chiles, discarding the stems and place in a food processor along with the rinds and salt. Pulse the mixture until it forms a slightly coarse, but uniformly textured paste. Mix in the orange juice and pulse lightly to combine, then transfer into a small glass jar. Loosely cover and let stand at room temperature for a day or overnight. Move to the refrigerator and allow the kosho to mature for at least a week before using, so the flavour will mellow and continue to develop. It will keep for months in the refrigerator.
The ratio for traditional yuzu kosho is four parts chiles to one part peels, by weight. 10 per cent of that total weight is added in salt. Experiment with the ratios of citrus to chile, as well as the types of citrus and peppers for the paste. For more heat, consider using smaller hotter peppers; for less heat, remove the seeds and veins in the peppers before processing.
Fermented Hot Sauce
More of a guideline than a recipe, this is a great way to preserve the influx of hot peppers during late summer and early fall. Any variety or combination of peppers can be fermented with similar results — add sweet or bell peppers to the mix for milder sauces. Sauces made in this manner are alive, carrying with them the added benefits of consuming live bacterial cultures.
Hot peppers
Sea salt or kosher salt, 2 per cent of the weight of the peppers (non-iodized)
Garlic, to taste
1 appropriately sized jar or crock, cheesecloth
Salt (non-iodized), vinegar, fish sauce (optional), sugar, to taste
Wearing gloves. remove the stems from all the peppers with a knife. For a milder sauce, remove the pith and seeds. Weigh the peppers, then weigh two per cent of the peppers' weight in salt.
Pulse the peppers and the garlic in a food processor, in batches if necessary. Add the salt and pulse again until it resembles a coarse paste — do not over-process. Pack the mixture into the jar. Cover the jar with cheesecloth and secure with an elastic band. Place the jar in a cool, dark area, such as a cupboard and leave it to ferment. The mixture will expand, bubble and become foamy on top — this is normal. Skim any mould that forms on the top or around the edges of the jar. After a few days, taste the mixture. When it’s warmer, the peppers will ferment quickly, and late in the season when temperatures are cooler, they will ferment slowly. Ferment longer if desired, tasting often, until satisfied.
Transfer the fermented mixture to a food processor and blend in batches until fairly smooth. Season with salt, vinegar, fish sauce (if using) and sugar to taste. The addition of salt and vinegar helps to arrest the proliferation of the bacteria, slowing fermentation and stabilizing the flavour. The hot sauce can be jarred as is, or it can be strained with a fine mesh strainer. Straining produces two sauces: a thicker, sambal-like pepper paste and a thinner southern-style Tabasco-like sauce. Transfer the sauce(s) to glass jars and store in a cold room or the refrigerator.
Lacto-Fermented Catsup makes 1 litre
3 cups tomato paste
2 garlic cloves, finely minced or grated with a microplane
2 tablespoons unpasteurized cider vinegar
1 tablespoon sea salt
½ teaspoon ground black pepper
½ teaspoon ground allspice
½ teaspoon onion powder
¼ teaspoon ground cloves
½ teaspoon Worcestershire Sauce or fish sauce (optional)
¼ cup raw honey
¼ cup maple syrup
¼ cup lacto-fermented vegetable brine or whey
Optional seasoning for after fermentation: sea salt, sugar, honey or maple syrup and unpasteurized cider vinegar, to taste.
Combine all the ingredients in a bowl and mix thoroughly. Transfer the catsup mixture to a glass jar. Tap the bottom of the jar on a cutting board to settle the mixture and minimize air bubbles. Pour a thin layer of brine (such as kraut brine) or whey over the catsup — just enough to cover — to help to protect the ferment from unwanted microbial contamination. Loosely cover and leave to ferment for 3 days to 7 days at room temperature.
After fermentation, correct the final seasoning. If you like, thin with water to desired consistency. Transfer to a new jar or jars and store in the refrigerator for up to 6 months.


